How To Make Your Podcast Sound Professional
Have you ever been listening to a podcast and wondered how they get that professional, broadcast style voice? In this article, we’re going to walk you through all the steps you need to get that pro sound for your own podcast.
Choosing a Recording Location
The first step is to consider the space in which you’re planning to record your podcast. Choose a room that’s furthest away from any noises like traffic, air conditioning or refrigeration, or possible interruptions like doors opening and closing.
Try to reduce reflections (or echos) as much as possible by using materials that can absorb sound, like curtains, blankets, carpet or acoustic panels on your walls and floor – even adding in some soft furnishings can help. Lastly, shut any doors or windows that you can to separate your recording space from any possible noises as much as possible.
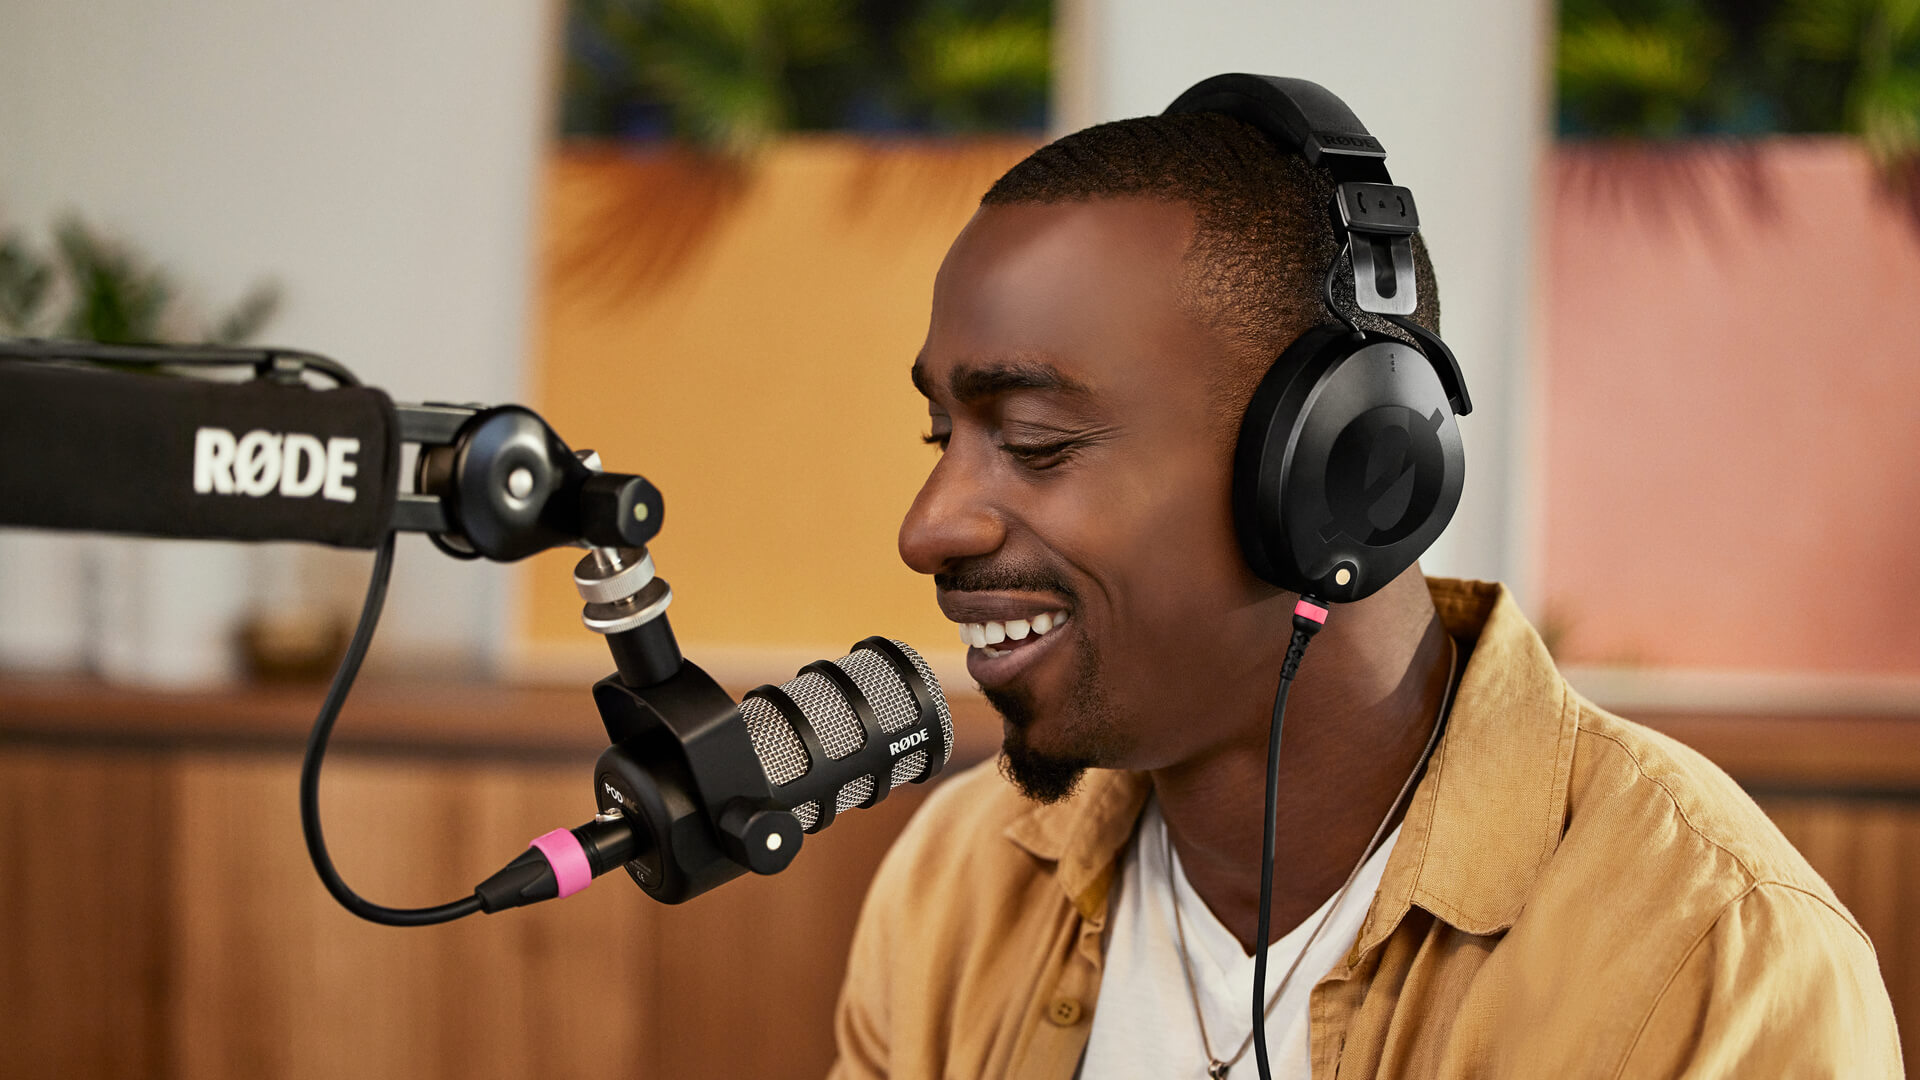
The PodMic and PodMic USB are dynamic microphones purpose-built for capturing rich, broadcast-ready speech while rejecting unwanted background sounds.
The Best Microphone for Podcasting
The microphone you use plays a big part in the tone of your voice, and choosing one that delivers clarity and richness will go a long way in helping your voice sound more professional.
Dynamic microphones are ideal for most podcasters as their lower sensitivity means they pick up less background noise and are less likely to pick up the voice of your other hosts or guests. Examples such as the PodMic and PodMic USB are purpose-built for speech applications, and are excellent at capturing that rich, broadcast sound.
On the other hand, condenser microphones like the NT1 Signature Series are more sensitive and are great for capturing detail, but this increased sensitivity means that they’re more suited to rooms and spaces that are better soundproofed and treated.
Perfect Microphone Placement and Technique
Microphone technique is another key ingredient in capturing a professional sounding voice for your podcast – this includes mic placement relative to your mouth, and how you talk into it.
First up, you’ll need a tool to mount and position your microphone. For smaller setups, a desktop stand like the DS2 is ideal, offering a simple, compact and sturdy mounting solution. For longer-term setups with a little more space, studio arms like the PSA1+ offer ultimate flexibility and can be effortlessly and silently readjusted on the fly.
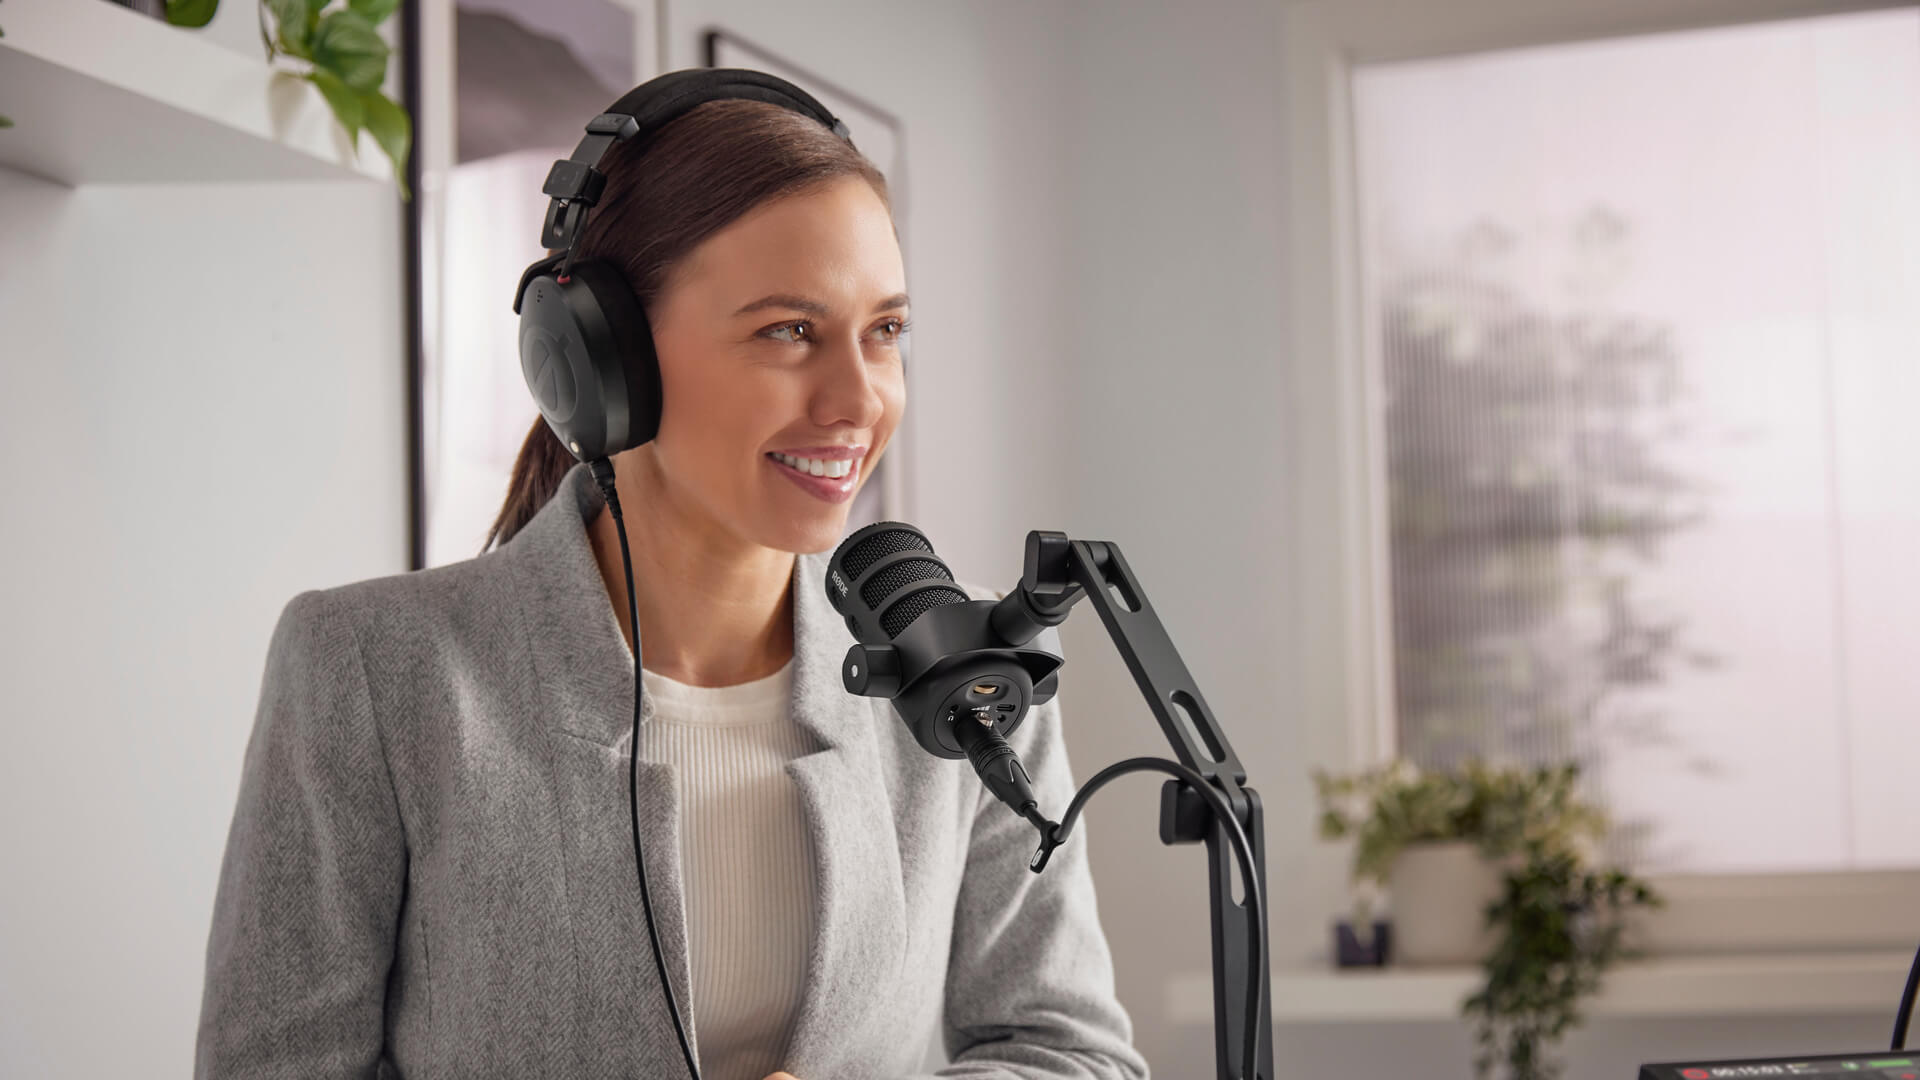
The DS2 is a compact desktop studio arm ideal for perfectly positioning your microphone, especially for smaller setups that you’ll be packing down or moving often.
Check if you’re using an end-address microphone (like the PodMic) where the capsule is facing out towards the end, or a side-address microphone (like the NT1) where the capsule faces perpendicular to the microphone’s body.
You’ll want to speak towards the capsule but not directly into it – try talking on a very slight angle to prevent plosives (brief puffs of air that can distort the microphone capsule, formed by mouthing sounds such as the ‘p’ in ‘plosive’).
In terms of distance, position your microphone about 4 - 6 inches away from your mouth for dynamic microphones, or about 6 – 8 inches for condenser microphones, to avoid sounding distant and echoey.
You can speak closer to the microphone capsule to make use of the “proximity effect”, which enhances the low-end frequencies in your voice, but this can take some practice to avoid plosives. We also recommend using a pop filter over, or in front of your microphone to help tame these plosives even more.
Mixing and Monitoring
Setting and maintaining good recording levels is a critical component of professional-sounding audio. If your levels are too low, you may introduce background noise when trying to lift your audio later on, and if they're too high, you could end up clipping your audio and render it useless.
Take the time to set the gain level for each person speaking in your podcast, including phone calls or any other sounds you plan to have in your show. It’s best to first set your levels by rehearsing as if it were the final production, so nothing takes you by surprise.
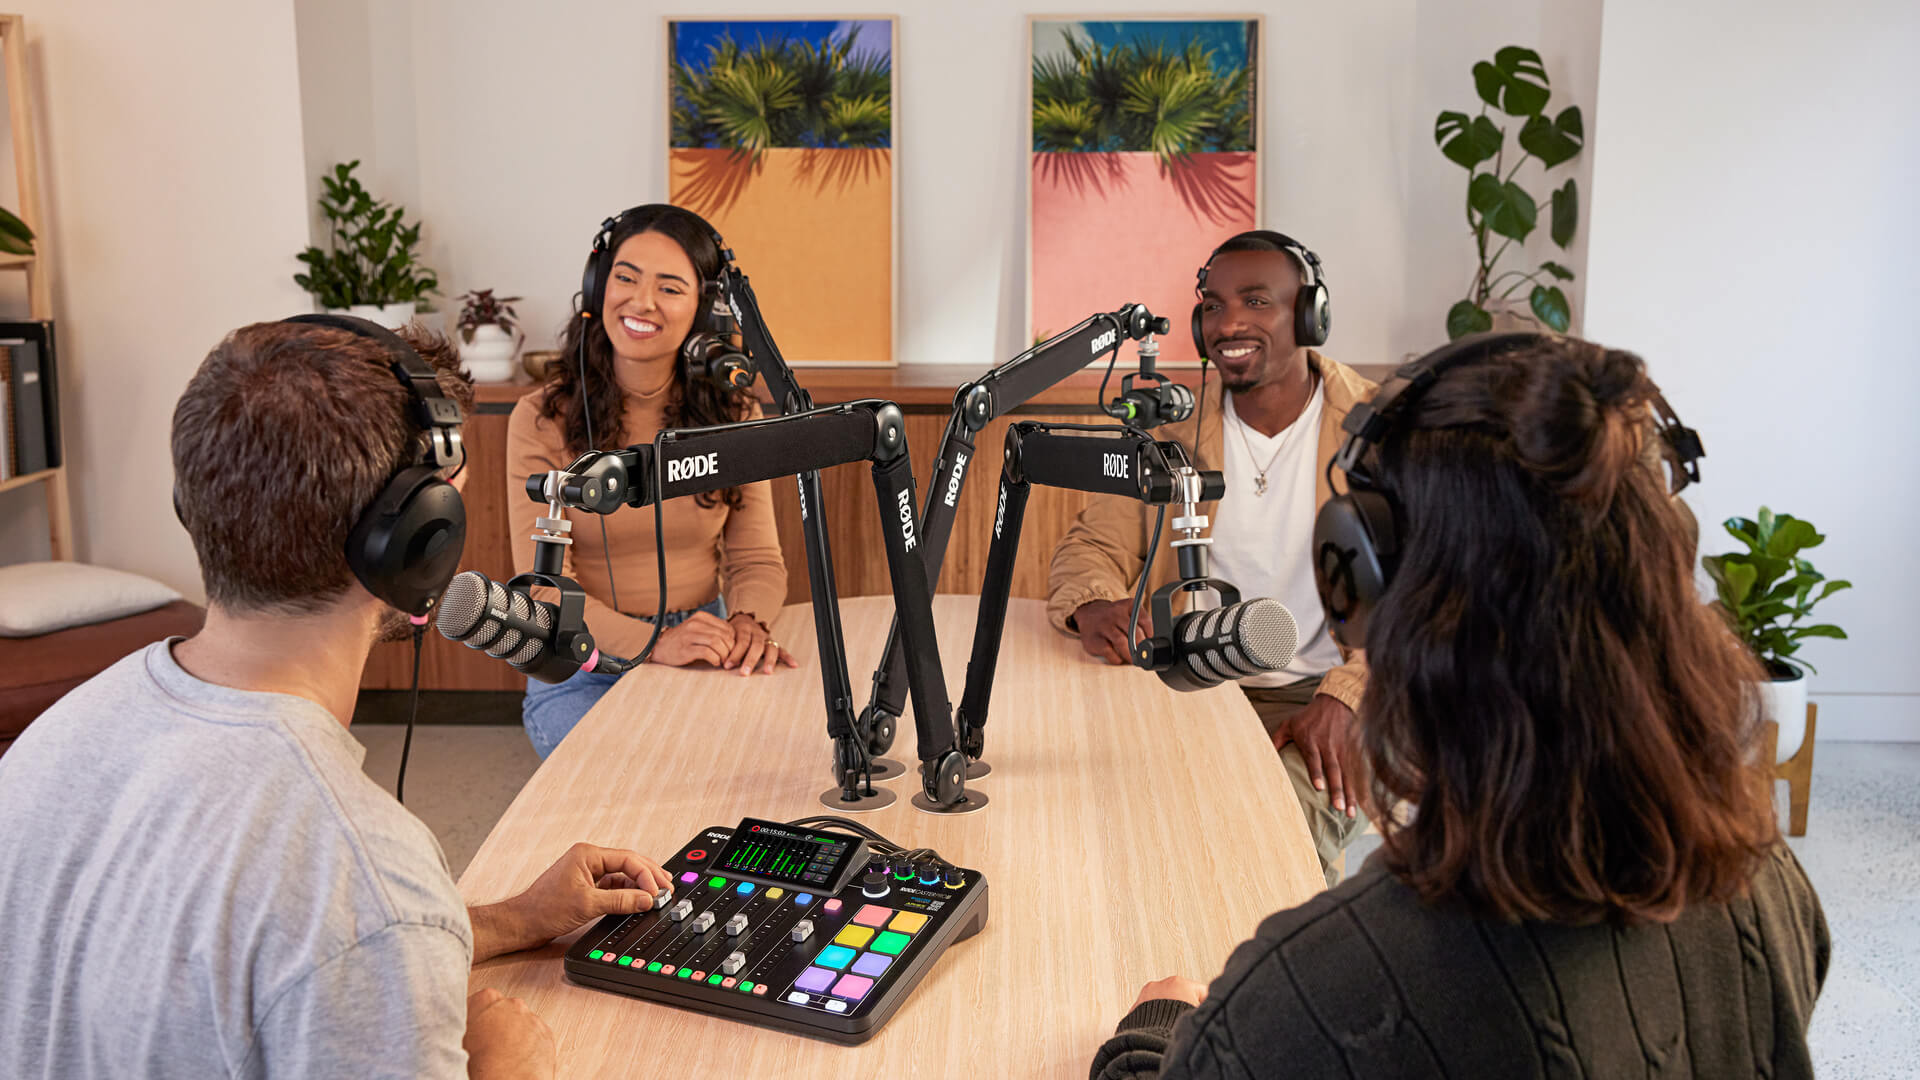
Having all of your hosts and guests wear headphones for monitoring is highly recommended so everyone can hear they sound in relation to the rest of the podcast.
Once set, you should ideally have a producer (or yourself) watching the levels as you record, adjusting if there’s any issues. It’s a good idea for yourself and your guests to wear headphones so everyone can hear they sound in relation to each other.
Processing and Effects
Finally, there’s a lot of magic you can weave with processing to bring your voice performance to life. The subtle use of EQ (equalisation), compression and other effects will go a long way in polishing your sound, and you don’t need to be an audio engineer to pull it off.
While all of these tools can be applied within a DAW (Digital Audio Workstation) in the post-production phase, a console like a RØDECaster Pro II or RØDECaster Duo allows you to sculpt your sound at the time of recording – great for reducing work later on, or if you’re broadcasting live.
You can use EQ to both reduce unwanted frequencies in your sound and enhance frequencies that give the voice more clarity, richness and warmth.
For example, you might want to boost the voice subtly at around 1-2kHz and again around 5-8kHz to add more crispness and clarity. You may also need to slightly reduce some of the low-mid frequencies around 250-400Hz to make the sound less ‘boxy’. Gently boosting the lower frequencies around 120-150Hz can give the sound more warmth; particularly if the voice you are recording lacks a bit of bass to begin with.
Obviously, these settings will differ dependent on the voice, microphone and technique being used, but they’re great places to start and experiment with.

The RØDECaster Pro II and Duo feature a number of different processing and effect options that are super simple to dial in with presets, or fine-tune with granular controls.
Next up, compression. This is a tool that helps control the dynamics of your audio so that volume levels are more even and consistent throughout a recording. It catches and brings down loud jumps and boosts softer words or phrases so that everything can be heard clearly.
With EQ and compression, you can get much of the way to a professional sounding podcast voice, but there are many more processing tools that can aid in either correcting issues with your sound or enhancing it further.
These may include a de-esser, which is used to reduce harsh ‘s’, ‘t’ and ‘ch’ sounds in your voice, a noise gate which is used to reduce background noise in between words and phrases, and even exciters which uses harmonics to add more presence to your sound.
If you’d prefer not to tinker with the settings for effects and processing tools like these, you can use presets (such as those available on the RØDECaster range) to quickly get the sound you’re after.
Whether you’re just starting your podcasting journey or looking to take it to the next level, check out our wide range of podcasting equipment, including broadcast microphones, headphones, mounting arms and all-in-one production consoles.